
Introduction
Traditional cellular and internet-based networks rely on towers, access points, and wired uplinks. When the grid goes down, these networks fail.
A local mesh network uses a different approach. Devices communicate directly, device-to-device, without depending on centralized infrastructure. It’s simple, resilient, and practical – and thanks to PsiKit, now it’s accessible, too.
We provide thoughtfully configured kits that are ready to use – there’s no need to research hardware, firmware, radio regions, encryption keys, or best practices.
For those who prefer to build their own, we offer this free beginner-friendly tutorial to spread awareness and help people connect.
📶 No cell towers
🌐 No internet required
💸 No monthly fees
✅ Just practical resilience
📶 No cell towers 🌐 No internet required 💸 No monthly fees ✅ Just practical resilience
📋 Get Started with Mesh:
Simple Local Messaging
This free beginner-friendly tutorial from PsiKit.com helps families, friends, and neighborhood groups communicate using local mesh networks for simple, off‑grid, private messaging.
Overview #
Setting up your own mesh network for simple local messaging involves four main steps: choosing a compatible device, installing (or “flashing”) the latest firmware, configuring your device settings and channels, and sending your first message.
This free guide from PsiKit is based on Meshtastic®, an open-source project that allows small, low-power devices to communicate over long-range radio (LoRa). Meshtastic is widely used around the world to enable secure, off‑grid messaging without relying on cellular service or internet access.
Meshtastic is a registered trademark of Meshtastic LLC. Meshtastic software components are released under various licenses, see GitHub for details. No warranty is provided - use at your own risk. PsiKit is not endorsed or sponsored by Meshtastic.

-
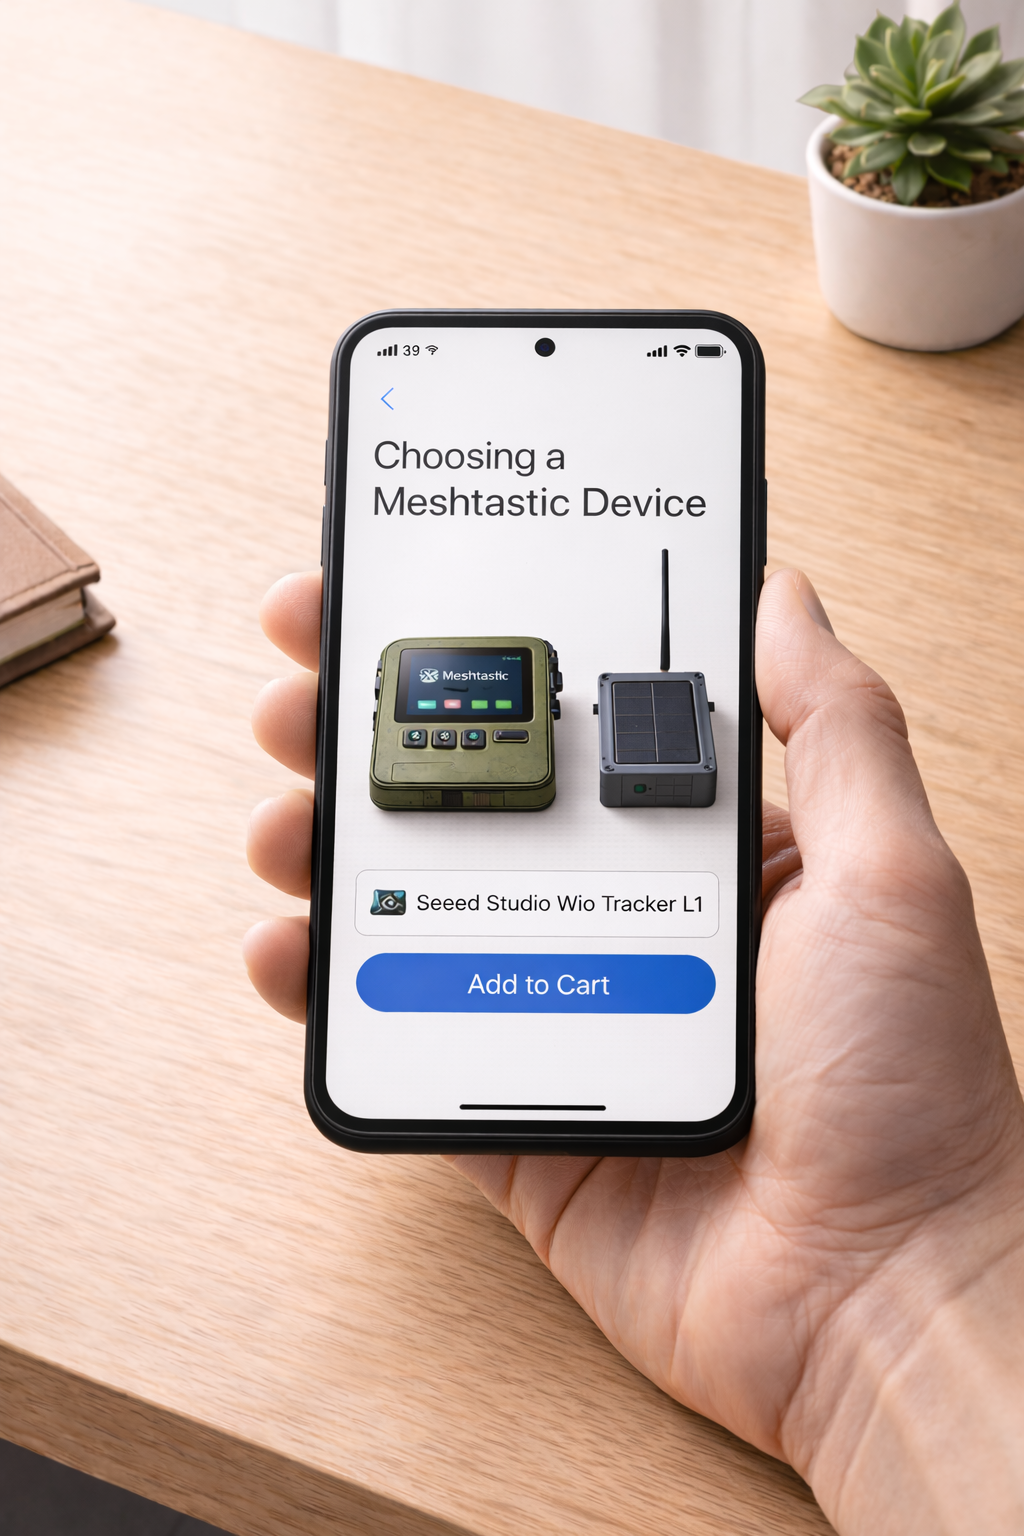
I. Choose a Device
Select a pre-assembled Meshtastic device with a built-in screen and controls. We recommend the Wio Tracker L1 for its joystick navigation and on-device messaging.
-
II. Update Firmware
Install the latest Meshtastic software on your device – a process commonly called “flashing firmware” – to ensure you have the newest features and improvements.
-
III. Set Up Device
Use the Meshtastic app to configure your region, set up your channels, and apply encryption so your devices can communicate securely.
-
IV. Send Your First Message
Compose and send a message either directly on the device using the joystick-driven keyboard, or through the Meshtastic app on your phone.
I. Choosing a Device
The first step is selecting a compatible Meshtastic device.
There are many options available, ranging from small, screenless boards to larger units with built-in displays and keyboards. For most people, we recommend starting with a device that works both as a standalone messenger and with the Meshtastic app on a phone.
-
We recommend the 🛒Seeed Studio Wio Tracker L1.
It strikes the right balance between simplicity, portability, and cost.
The Wio Tracker L1 includes:
A built-in screen
Physical joystick controls
On-device message composition
Rechargeable battery
Full compatibility with the Meshtastic mobile app
This means you can send and receive messages directly on the device — even without a phone — while still having the option to use the Meshtastic app for faster typing and advanced configuration.
For beginners, that flexibility is ideal.
-
Meshtastic supports a wide range of hardware. You may encounter:
Devices with built-in keyboards
These offer full typing directly on the device. However, they tend to be more expensive and are often reviewed as bulky or less polished. For most families, they aren’t necessary.
Small, screenless devices
These are compact and affordable but require a companion device (like an iPhone or Android phone) to read and send messages. They work well for certain setups but may not be ideal as a standalone family communicator.
Solar-powered relay nodes
These are designed to be mounted outdoors, often on rooftops or elevated areas, to extend network range. They’re excellent additions once your network is established, but not required to get started.
-
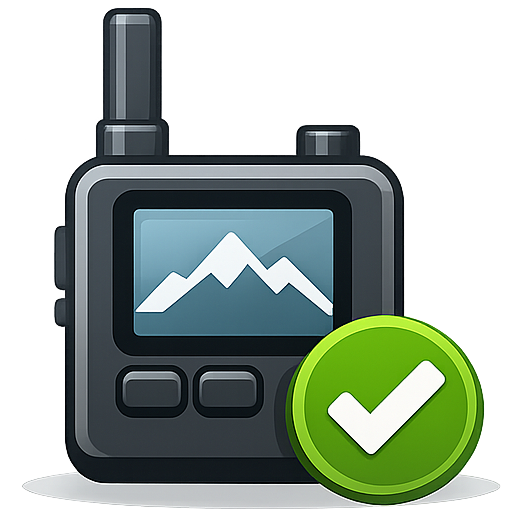
If you’re new to mesh networking, begin with a standalone device like the Wio Tracker L1. It gives you immediate, practical functionality while leaving room to expand later.
Once you’ve chosen your device, the next step is installing the latest firmware.
Too hard to choose?
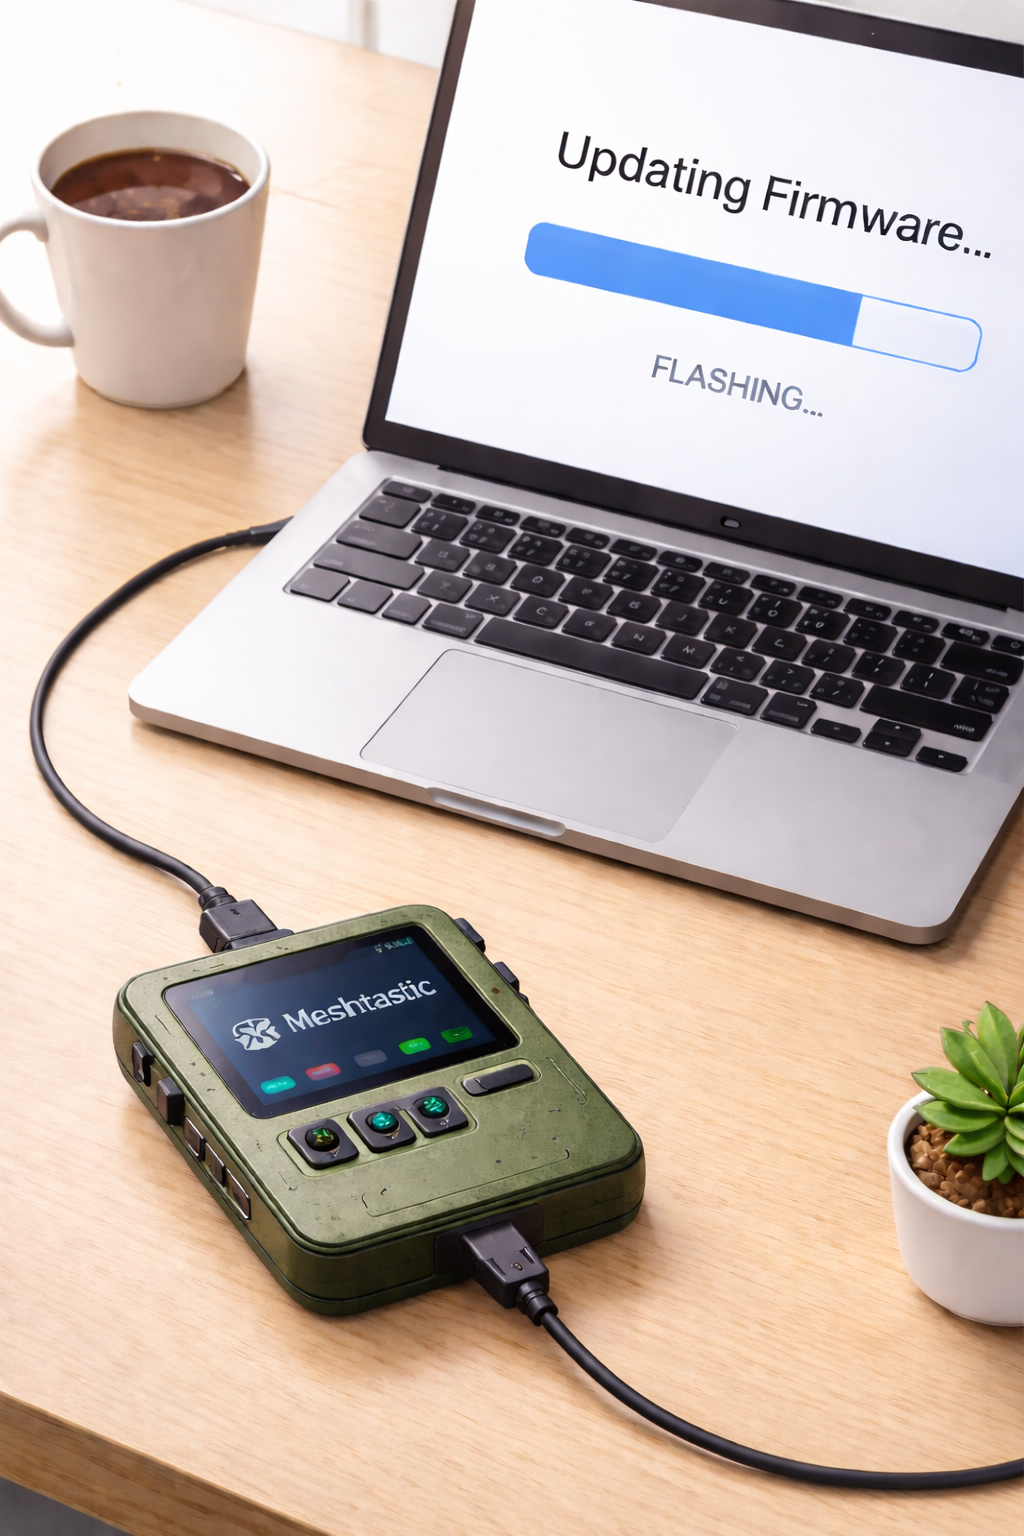
II. Updating Firmware
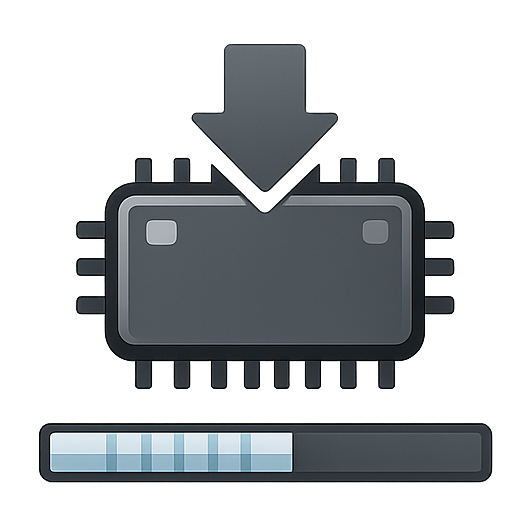
Before your device can communicate, it needs the latest Meshtastic software installed.
This software is called firmware – the operating system that runs directly on the device itself. Installing or updating it is commonly referred to as “flashing firmware.”
Despite the technical name, flashing firmware is simply the process of loading the correct software onto your device using a computer.
You only need to do this once when setting up a new device (and occasionally in the future if you choose to update).
-
Your Meshtastic device, fully assembled.
We recommend the 🛒Seeed Studio Wio Tracker L1.
A USB cable
A computer (Mac, Windows, or Linux)
An internet connection
-
Turn off the device.
Attach the antenna (if needed).
Connect it to your computer using a USB cable.
Turn the device on (if required).
Your computer should recognize the device automatically.
Note for Mac users: click “Allow” when prompted to allow the USB accessory to connect.
-
Meshtastic provides a browser-based tool that makes flashing simple.
Open the official 🔗Meshtastic Web Flasher in a compatible browser (Chrome or Edge recommended).
Automatic Method:
Click Select Target Device, and then click Auto-detect, and select your device connected via USB.
e.g. TRACKER L1 (usbmodem)
Select the latest “Stable (or Beta)” firmware version, or the version recommended by the device manufacturer.
Click Flash.
Read the release notes and click Continue.
Click Download UF2 to begin flashing the device.
The Meshtastic Device will reboot after successfully flashing the firmware.
Troubleshooting:
If you encounter any issues, press the RST (reset) button on the device, wait for the startup chime or beep, and reload the website to try again.
Alternatively, if your device cannot be auto-detected, follow the steps below under “Manual Method”.
-
Optional: Follow these steps if your device cannot be auto-detected or you encounter issues using the automatic method above.
Manual Method:
On the Meshtastic Flasher website, manually choose your device model (e.g., Wio Tracker L1).
Select the latest “Stable (or Beta)” firmware version, or the version recommended by the device manufacturer.
Click Flash.
Read the release notes and click Continue.
Follow the steps to enter DFU mode. For many devices, simply double-press the “RST” (reset) button.
Click Download UF2, and locate the firmware file in your Downloads.
Locate the Meshtastic device mounted as a USB drive in the Finder on macOS or in File Explorer on Windows.
Copy the firmware file to the USB device, and wait for the copy to finish.
The Meshtastic Device will reboot after successfully flashing the firmware.
Troubleshooting:
If you encounter any issues, double-press the RST (reset) button on the device to re-enter DFU mode, wait for the startup chime or beep, and try again.
Be sure to use a compatible browser (Chrome or Edge recommended).
-
The flashing process typically takes 1–3 minutes.
Do not disconnect the device during this time.
Once complete, the device will reboot automatically.
That’s It
Your device now has the latest Meshtastic firmware installed.
Next, you’ll configure your region and channels so your devices can communicate securely.
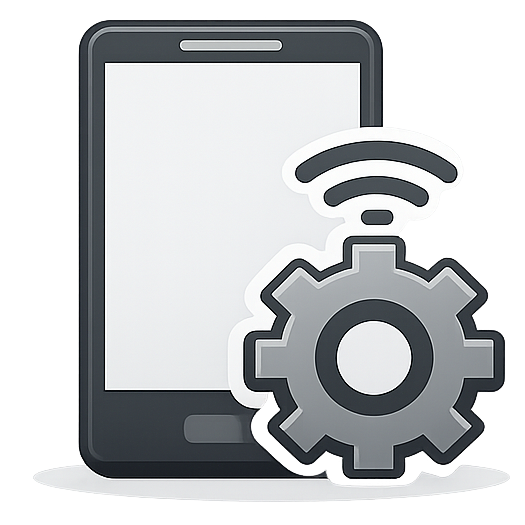
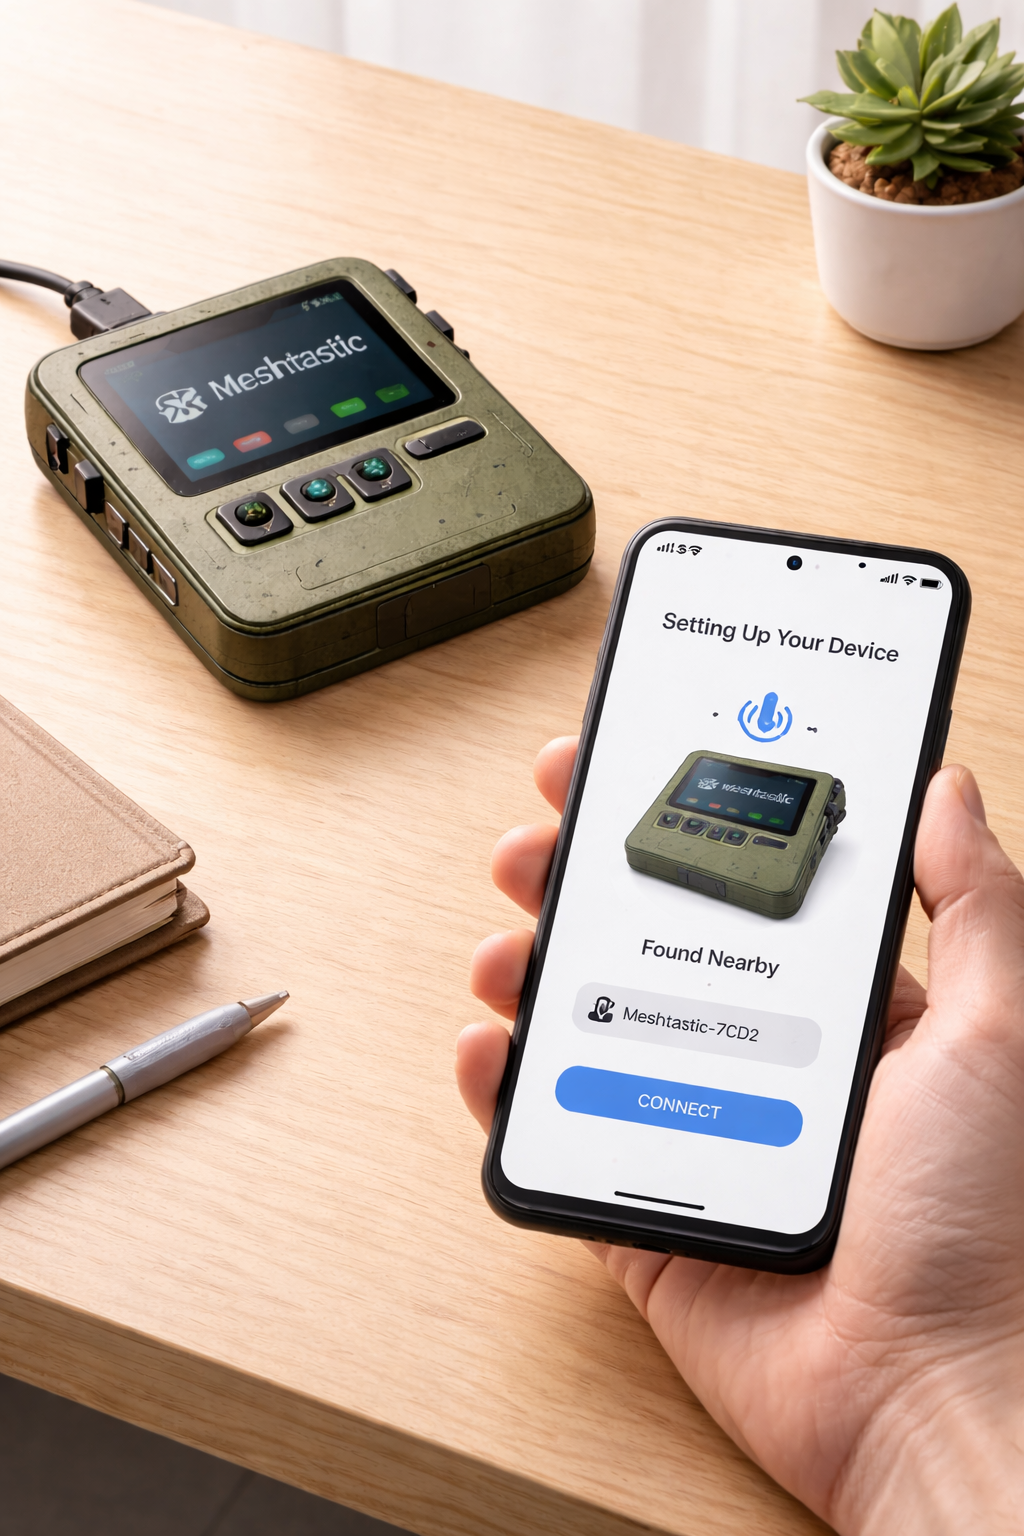
III. Setting Up Your Device
With firmware installed, the next step is configuring your device.
Most setup is done using the Meshtastic mobile app, which connects to your device over Bluetooth. While you can adjust many advanced settings, only a few are required to get started.
-
Download the Meshtastic app for your iPhone or Android phone.
Open the app and allow Bluetooth access when prompted.
-
Turn on your Meshtastic device.
In the app, select Add Device.
Choose your device from the Bluetooth list.
Tap to connect.
On the iPhone or Android phone running the Meshtastic app, enter the passcode displayed on your Meshtastic device to confirm the pairing request.
Once connected, the app will display your device information and signal status.
-
In the Meshtastic app, navigate to Settings → Radio Configuration → LoRA → Region.
Select the correct region for your country (e.g. United States or US915).
Choosing the correct region ensures:
• Legal operation
• Proper frequency use
• Optimal performance
Save your changes.
-
In the Meshtastic app, navigate to Settings → Device Configuration → User.
Enter a name for your device in the Long Name field, e.g. Home, Jane, Dad, Cabin, or Smith Relay Station.
Optional: Enter a Short Name for your device (four characters).
Save.
This name will appear to others on your channel.
-
Channels allow your devices to communicate privately.
In the Meshtastic app, navigate to Settings → Radio Configuration → Channels.
Click Add Channel.
Set a simple channel name, e.g. “MainStreet”.
Leave the default encryption enabled (recommended).
The encryption key will be used to configure additional Meshtastic devices to communicate securely on the same channel.
You
Optional: turn on Allow Position Requests, and adjust approximate location setting.
All devices must share the same channel and encryption settings to communicate.
If you’re using a PsiKit bundle, your channels are already pre-configured.
For more detailed info, visit the Meshtastic Docs.
-
QR codes can be used in the Meshtastic app to quickly add channels with proper encryption keys included. You can generate a QR code to share your channel settings with another Meshtastic user so they can instantly join your private channel.
Share Channels by QR code:
In the Meshtastic app, navigate to Settings → Radio Configuration → Share QR Code to display the code for another user.
Choose which channels to include.
Choose whether to "Replace Channels" (to start fresh on the new device) or "Add Channels" (to add your channels to existing channels on another device).
Add Channels by QR code:
iPhone: Scan the QR code using the Camera app on your iPhone.
Android: In the Meshtastic app, navigate to Settings → Radio Configuration → Channels and tap the "Scan QR Code" button.
-
Some changes may require a reboot.
After saving your settings, the Meshtastic device will restart if needed.
You’re Ready
Your device is now configured and ready to communicate.
Next, you’ll send your first message — either directly on the device using the joystick, or through the Meshtastic app for faster typing.
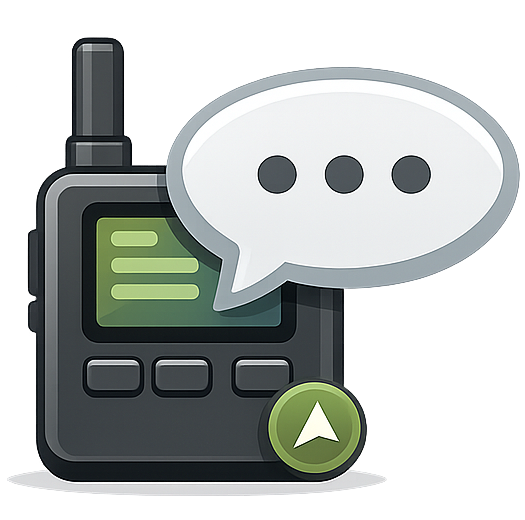
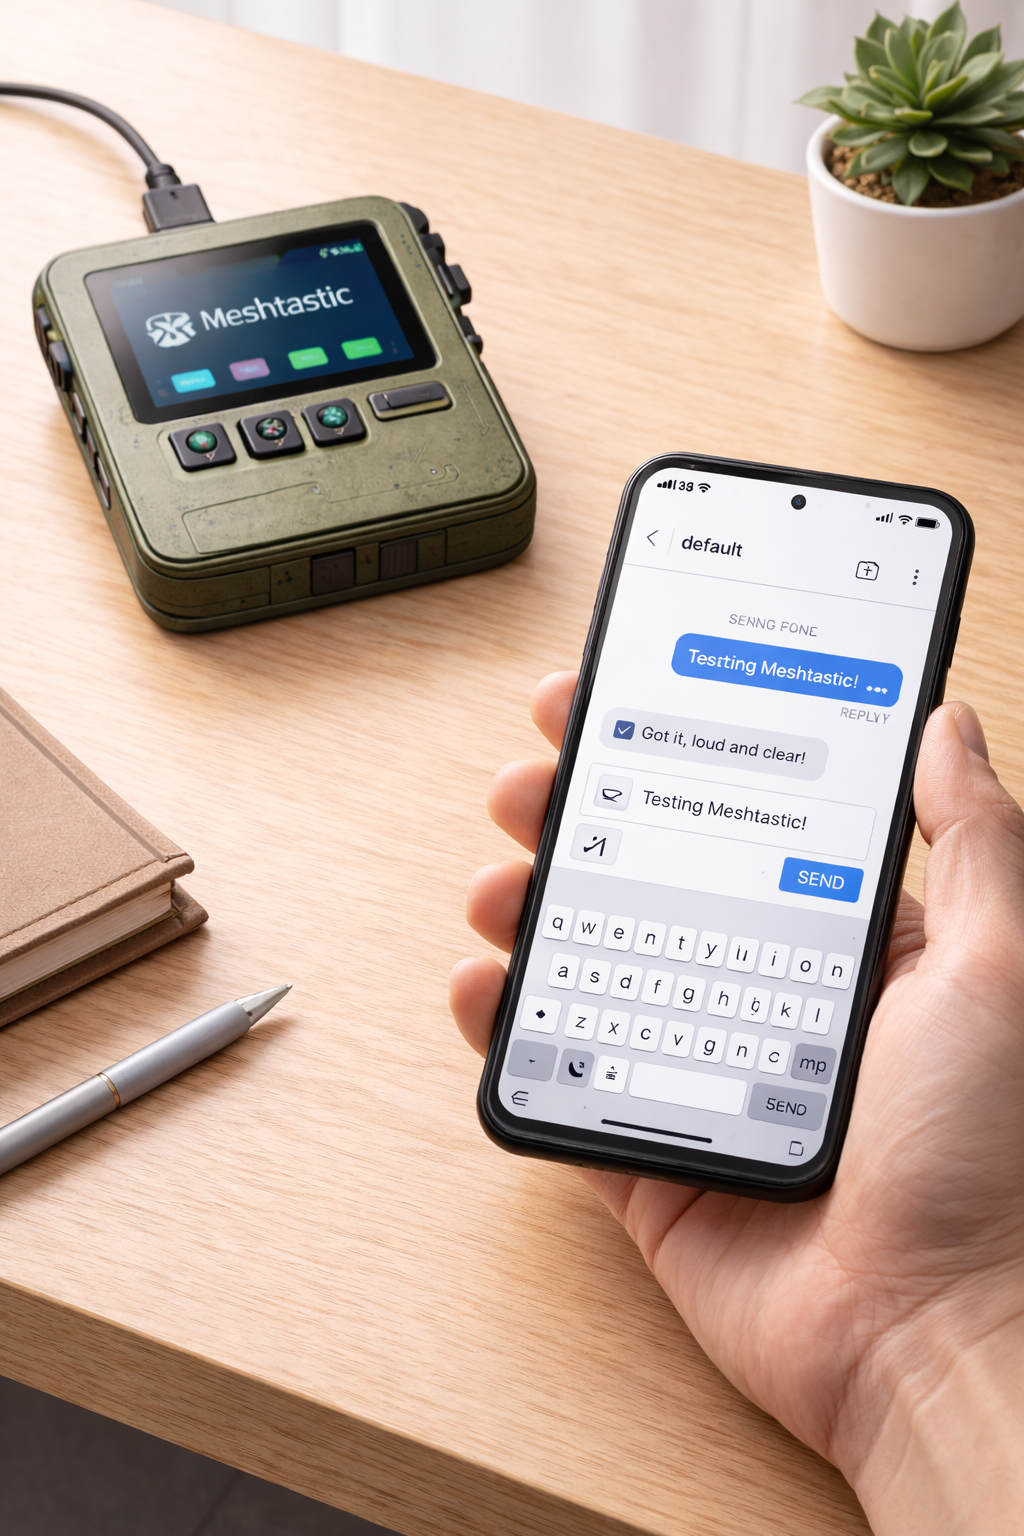
IV. Sending Your First Message
With your device configured, you’re ready to send your first message.
You can do this either directly on the device using the built-in joystick, or through the Meshtastic app on your phone.
-
If you’re using a device like the Wio Tracker L1, you can compose messages directly on the device.
Press ⬆️ (up) or ⬇️ (down) on joystick to compose a New Message.
Press [Select Destination] to choose the recipient:
@LongFast (broadcast to Channel 0)
@MainStreet (your private channel)
Direct Message to a node
Press [Free Text] to compose a custom message.
Use the joystick to move across the on-screen keyboard, and press the joystick to select each character.
Select Back (to delete) and Space as needed.
Select Escape to cancel.
Select Enter to send.
Your message will be sent to all devices on the same channel within range.
You should see confirmation on the screen once it’s delivered.
To view messages on another device, navigate to Messages on the main screen.
-
If your device is connected to the Meshtastic app, you can send a message using your iPhone or Android phone.
Open the Meshtastic app.
On the Messages tab, select Channels, and select your desired channel, e.g. MainStreet.
Type your message in the Message field.
Tap Send.
Typing on a phone is faster, but it's convenient to have a Meshtastic device with a joystick like the 🛒Seeed Studio Wio Tracker L1 (or a device with a built-in keyboard) so you can send messages directly from the Meshtastic device.
-
When another device on your channel receives your message, it will:
Display the message
Show the sender’s device name
Emit a notification sound (if enabled)
If nearby devices are part of the mesh, your message may automatically hop through them to reach devices further away.
-
To turn off sounds on devices with a joystick:
Navigate to System > Notifications > Buzzer Actions, and change to DMs Only.
This is recommended at least when not in active use, as otherwise the device will beep with every incoming message on the default broadcast test channel 0, and "System" beeps e.g. when pressing buttons on the device can be annoying too.
-
Send a short test message like:
“Testing my new mesh” or
“Message received?”
And have the other device reply.
If both devices can send and receive messages, your mesh network is working.
-
Check:
Are both devices on the same channel?
Is the region set correctly?
Are devices within range?
Is Bluetooth connected (if using the app)?
Are batteries charged?
Try restarting both devices if needed.
Small adjustments in placement — especially near windows or higher elevation — can improve range.
Good to Go!
Your mesh network is now live.
Try bringing your device with you on your next hike or road trip, and see who replies when you broadcast a message on Channel 0, the primary (default) channel.
Next Steps
Keep devices charged. Most devices need to be recharged every 5-7 days when used lightly.
Regularly test sending and receiving. Send a short test message every week or two to be sure devices keep working and your family and friends know how to stay in touch during an unexpected phone and internet outage.
Improve Your Range. Small placement changes can significantly improve performance. Higher elevation, nearby windows, and better antennas can extend how far your messages travel.
Add a Solar-Powered Relay Node. A dedicated relay device placed in a high location can strengthen your local network and extend communication between households. A small solar-powered setup can keep a relay node running continuously, even during extended outages.
Expand Your Network. Meshtastic also supports optional features like GPS location sharing and environmental sensors – allowing your network to grow beyond messaging.
Check the Official Meshtastic Docs for more info about these advanced topics.